Member photos can be displayed in the point-of sale system, to assist serving staff in verifying a member’s identification.
In this video, we will demonstrate how to manage member photos in Member Manager.
To add or change a member photo, click on the member in the Member List in Member Manager. Next right click on the member photo and select Change Picture.

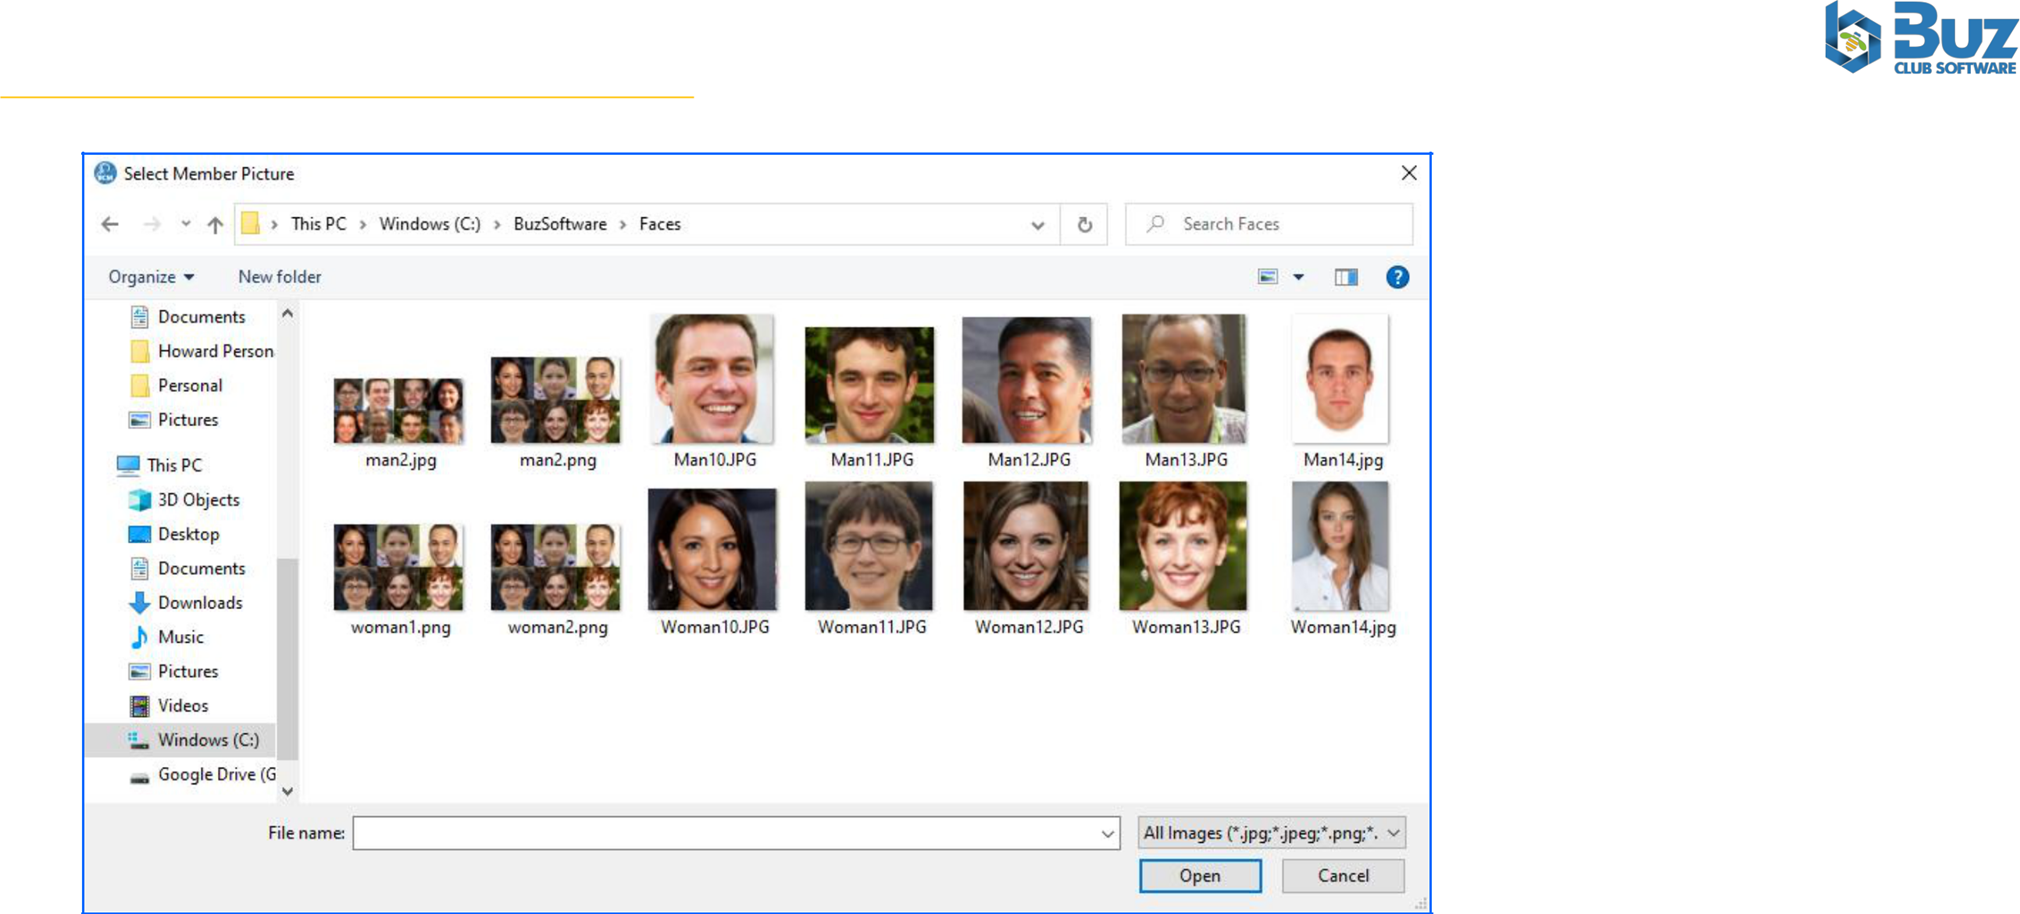
When the ‘Select Member Picture’ form loads, navigate to the folder which contains the member’s photo, click on the photo and click the Open button at the bottom of the form.
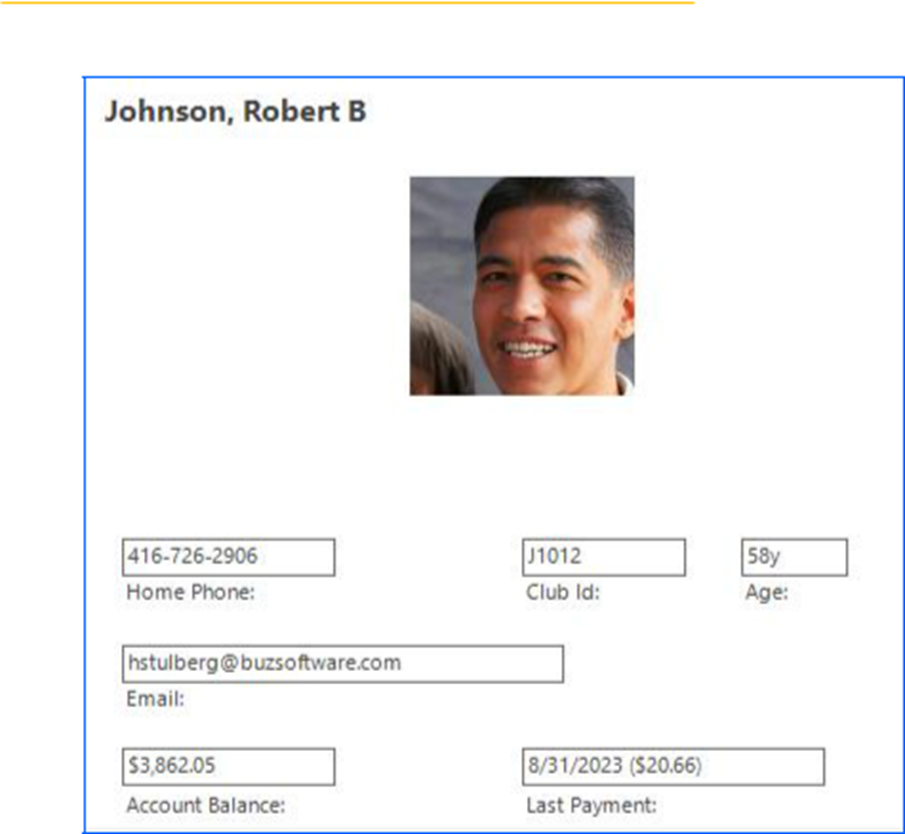
The member photo, which was selected will appear in the View.
Note that you can allow members to upload and manage their own photos from the member portal.
Was this article helpful?
That’s Great!
Thank you for your feedback
Sorry! We couldn't be helpful
Thank you for your feedback
Feedback sent
We appreciate your effort and will try to fix the article